In The Hoop Key Fob Snap Tab Tutorial
Posted by Amanda on Nov 5th 2023

You only need a few items to get started making these super cute
key fobs with your embroidery machine! (Please note some links are affiliate
links and we'll receive a small commission if you purchase through the link.)
Supplies Needed:
- Embroidery Machine - Almost all of our key fob designs work with a 4x4 hoop so almost any embroidery machine will work
- Cut Away or Tear Away Medium Weight Stabilizer - I like the World Weidner brand available on Amazon (and it comes in convenient pre-cut sheets!)
- Split Rings or D Rings
- Snaps and a tool to apply them - I prefer Kam Snaps brand size 20 snaps. Here's a link to a starter set that includes the tool to apply the snaps - Kam Snaps Set
- Faux Leather/Vinyl - There are tons of colors and patterns out there. Here's an example so you have an idea what you're looking for - Faux Leather For Sewing
- Scissors
Key Fob Instructions:
First hoop your stabilizer and stitch out the first step (the placement line):

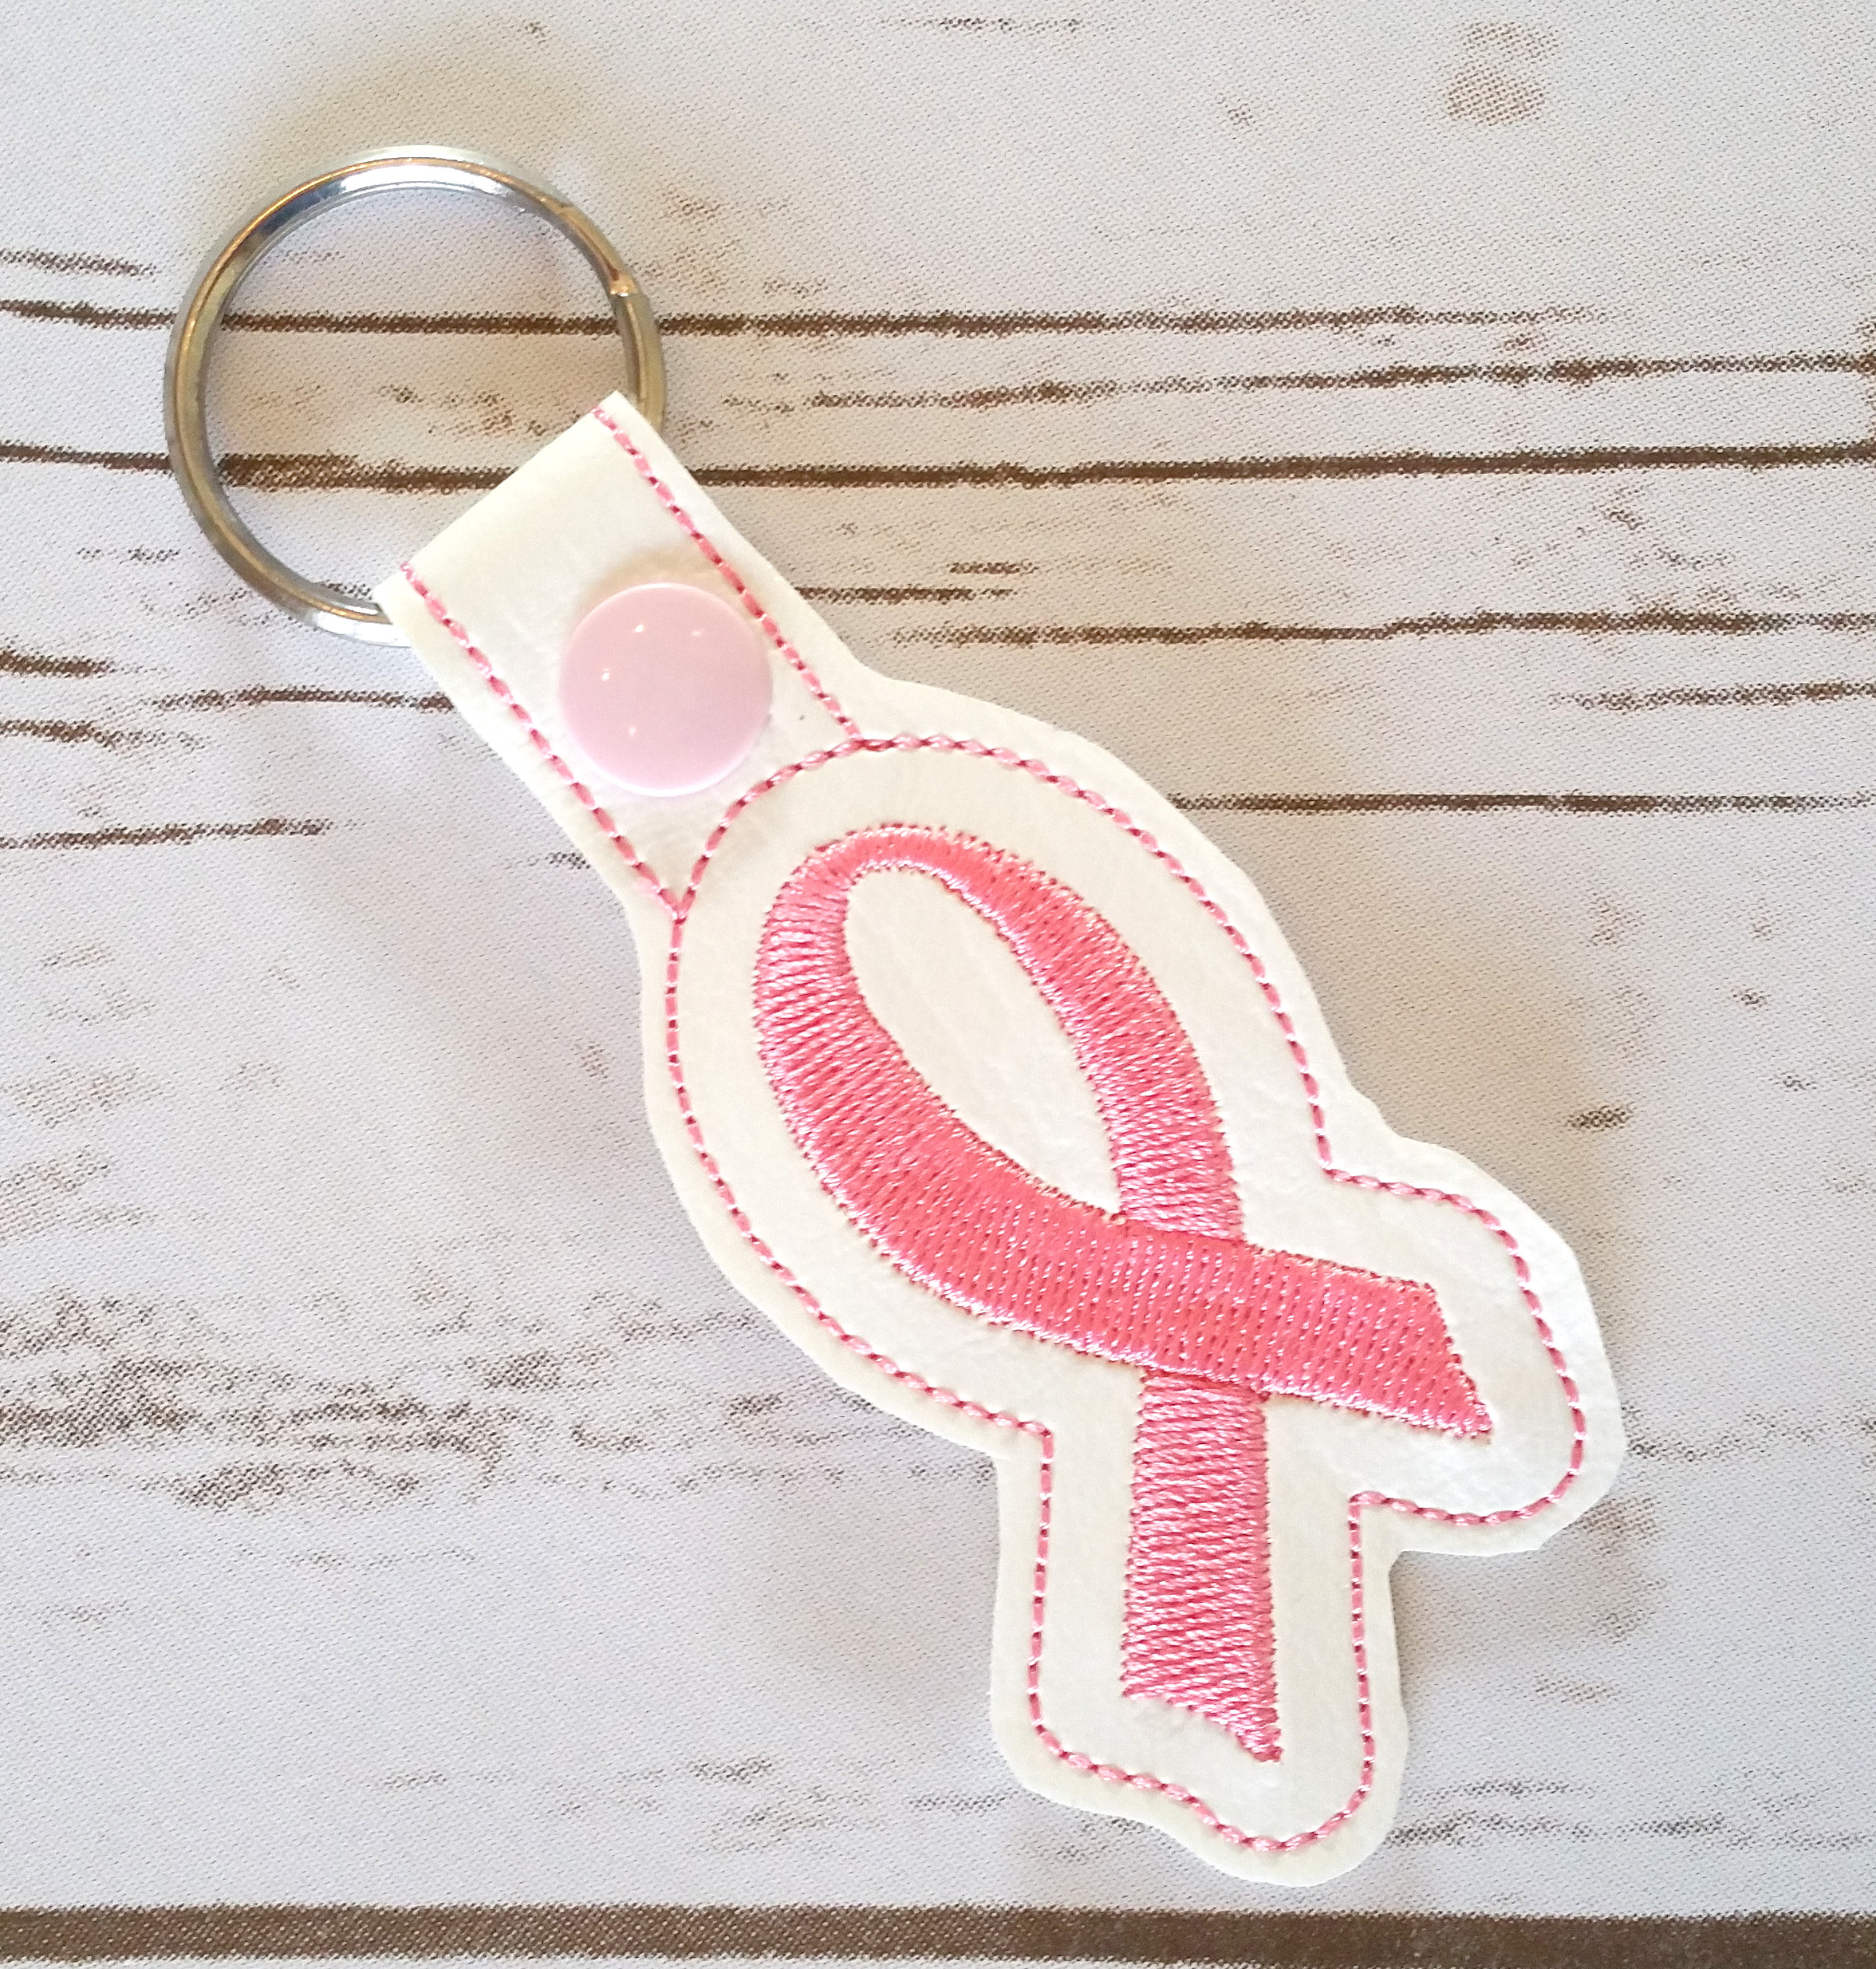
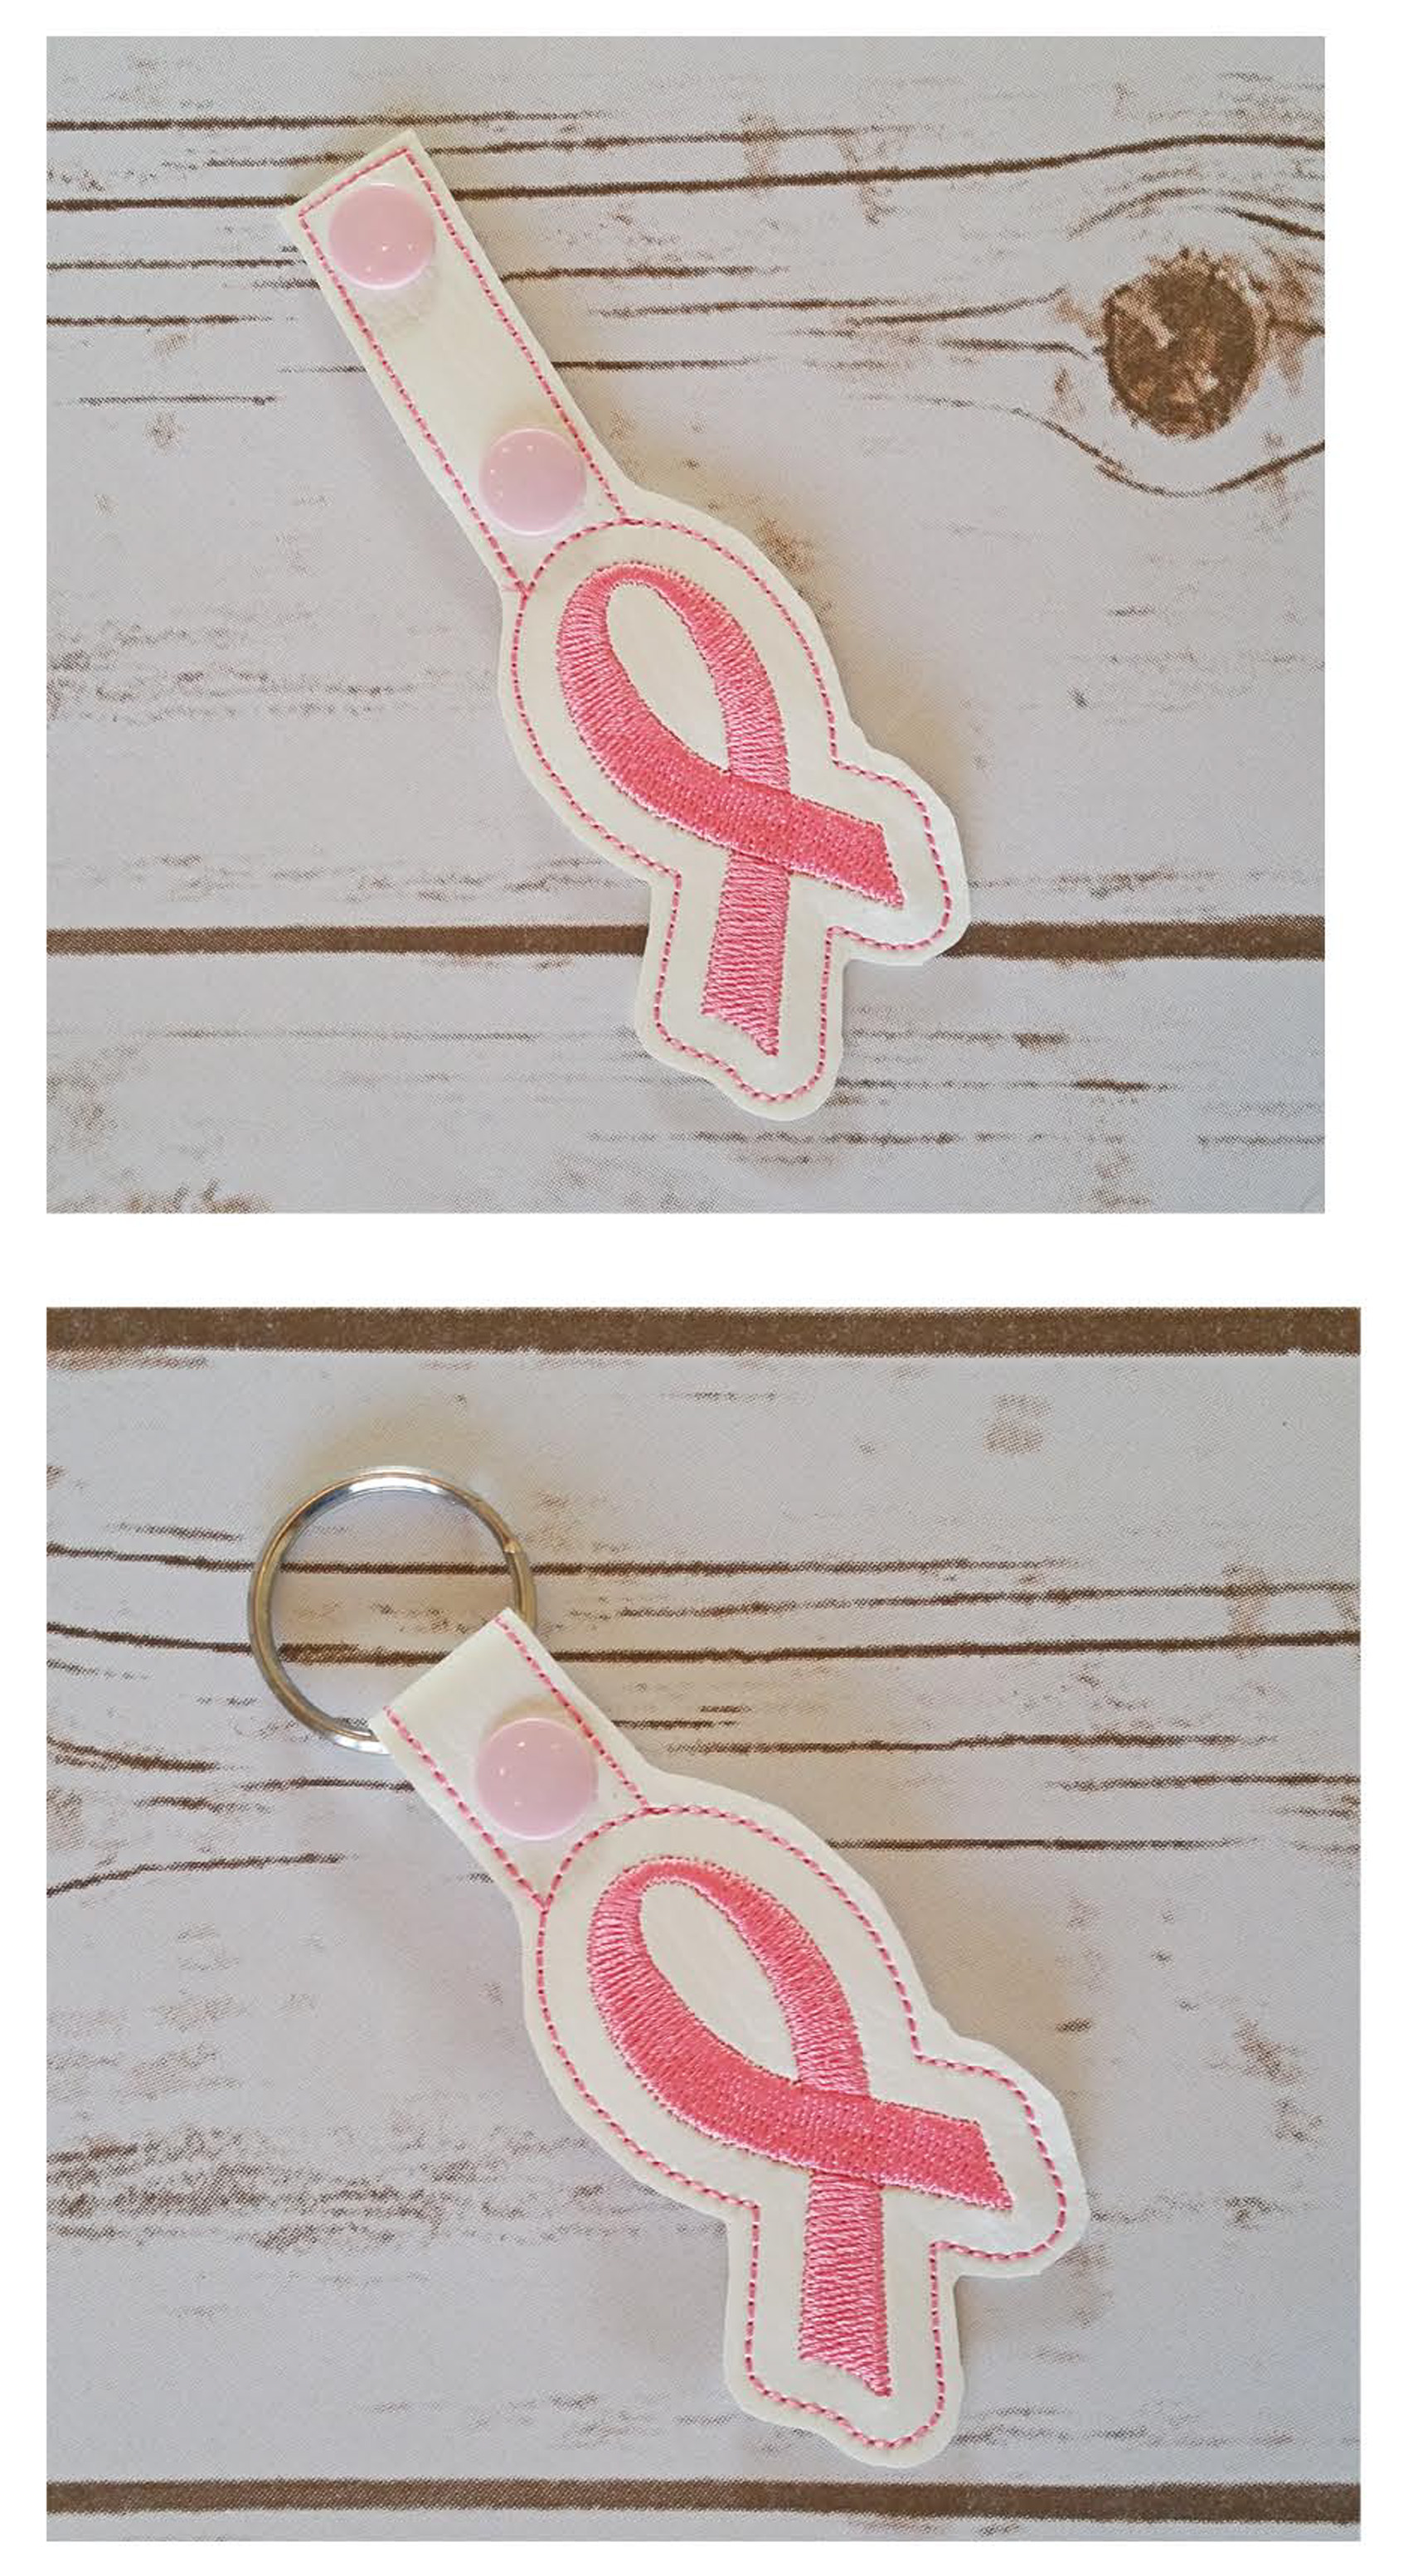
Once that step finishes, cover the outline with the faux leather of your choice. If the design has stitching that only shows on the front (such as the Pink Ribbon in our example photos) you'll stitch those steps now.

Once that step is finished, take your hoop off of the machine (but leave your item hooped!) and flip it over. Lay another piece of your faux leather over the outline on the bottom side of the hoop. I use a couple of pieces of scotch tape to hold mine on. Then put your hoop back into the machine and stitch your final outline.


Now all that's left to do is remove your design from the hoop and trim around the stitches. After you've trimmed, apply your snaps and you're all done!

We have TONS of these awesome key fob designs for sale and you can even order one with a custom name if you need something we don't have listed! Here's a link to our Key Fobs category - Key Fobs

